|
|
Regular
Posts: 98

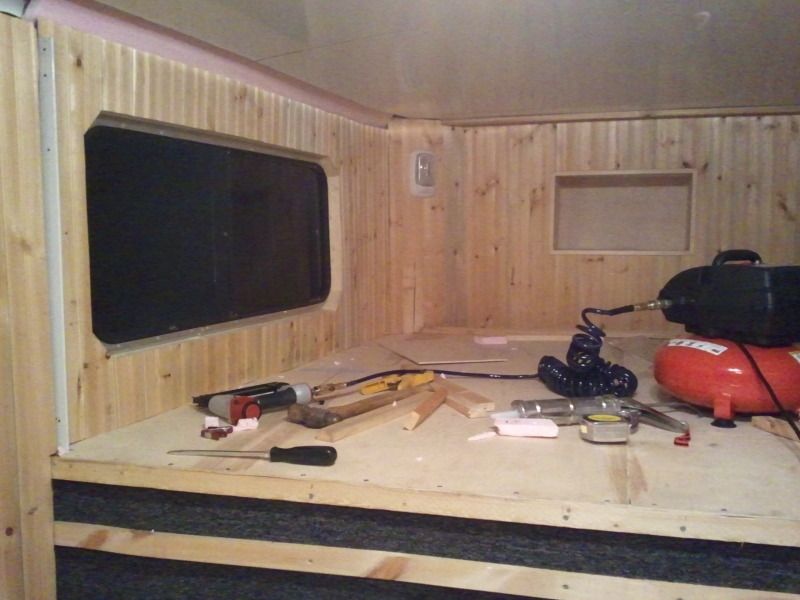
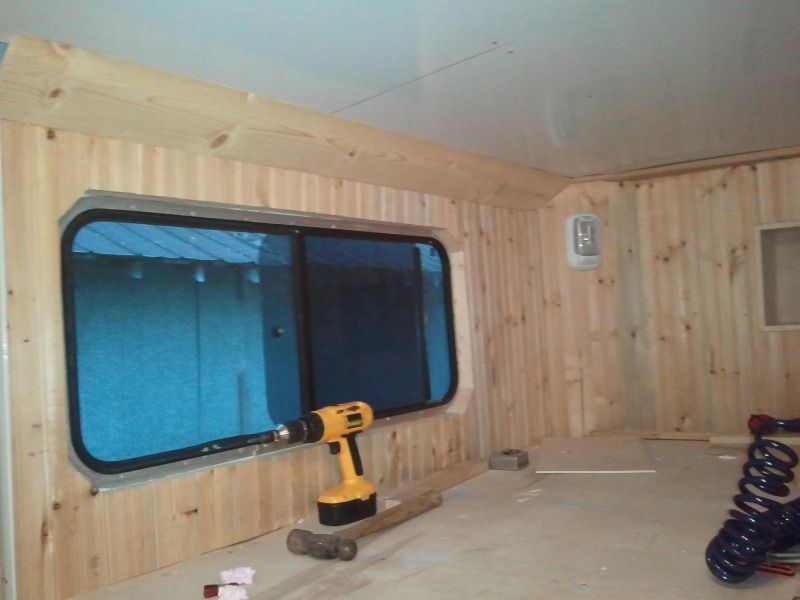
Location: MD | I'm pretty far along in converting my 52" SW and perplexed over what to do with the gap on the curved roof area. I can post pictures but have installed insulation, taped, framed, wired, put up RV ceiling panel, nose cabs, sofa bunk on the drop wall, a sink base/cabs and starting on wall panels. The gap is about 5-1/2" and requires an angle from the top of the wall panel to the edge of the ceiling panel. It appears from scouring over conversion sites folks hide it with cabinets, drop the ceilings to square, use crown moulding (can't find anything big enough for my space & unfinished) or some type of covering over cut Luan like running horses. Anybody have any other creative ideas? |
|
| |
|
Regular
Posts: 99
Location: Phoenix AZ | I used bendable redwood landscape boards but if I do another conversion I think I might try using 1/2 inch Styrofoam cut in to the width I need and cover it with a nice upholstery fabric. It's bendable and lightweight so it can be attached with construction adhesive. I actually did this to cover the wall in the nose where the bed is...used a whole piece of Styrofoam and covered it with fabric (used spray adhesive since cutout was larger)and just fit it up against the wall. I think I first made a pattern with paper before cutting foam board. Good luck! |
|
| |
|
Veteran
Posts: 155

Location: North Salem, IN | Are you talking about the gap between the top of the wall and the edge of the ceiling? If so, I used a 1x6 and cut the angle to cit the ceiling and wall. Essentially, the 1x6 is up there at a 45 degree angle to cover that gap. Depending on the size of the gap you have, you may have to use a smaller or larger board. I tried to attach a photo, but can't get it to upload. |
|
| |
|
Veteran
Posts: 155
Location: North Salem, IN | Before: http://i11.photobucket.com/albums/a197/sshep69/2012-05-20215634.jpg After: http://i11.photobucket.com/albums/a197/sshep69/2012-05-23204950.jpg Hope this helps. |
|
| |
|
Regular
Posts: 98
Location: MD | Yes Zipitude, that's the spot. Thanks to you both for some good suggestions. One question, did you run angled supports behind that 1x6 or did you just afix (screw/glue) it to the framing at the end of the ceiling and wall board? |
|
| |
|
Extreme Veteran
Posts: 430
Location: TN | That looks really nice Zipitude! |
|
| |
|
Veteran
Posts: 140
Location: NM | Wow Daffy that is a brilliant idea and exactly what I need to do. Thank you so much for posting it. |
|
| |
|
Regular
Posts: 99
Location: Phoenix AZ | Thx Bells...another thing I would do differently is use velcro to attach the 'boards' in the areas where the wires come into the trailer. That way I can have easy access to the wires down the road if needed without ripping off and re-gluing everything. |
|
| |
|
Regular
Posts: 73
| Zipitude's work looks really nice. As Daafy suggested, our old living quarters had the fabric that matched the cushions glued to a thin piece of paneling, then held in place with wood-grain trim strips. When we re-did our "new" used trailer, we built a soffit framed out of 1x1's, and covered it with the same paneling we used for the walls. Just another idea. |
|
| |
|
Veteran
Posts: 155
Location: North Salem, IN | Thanks Cutter and Slowrider. RidnClyde, I just nailed the edges to the existing framework on the ceiling and wall. |
|
| |
|
Regular
Posts: 98
Location: MD | Okay, so I had to buy a 4x8 sheet of Formica for a 21x42 sink top and ended up cutting 6" strips on my table saw with the left overs. I attached them by ripping a piece of cove moulding in half which has a natural channel when attached with a flat side down. Turned out looking really good but thanks for all the suggestions. |
|
| |


